Admin panel Functionalities
We have 4 Main logins in this admin panel.
- Student Login
- Teacher login
- Staff login
- Admin login
Registration Process
Goto https://lekhya.ga/lekhya3/edu/register/
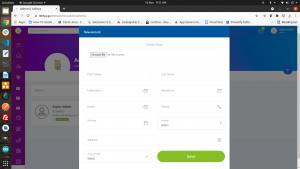
For Teacher Registration fill in these details
- First Name
- Last Name
- Phone number
- Date of Birth
- Gender
- Username
- Password
After filling all the above details, click on Create an account button. It will create an account for teachers but Admin needs to approve the teacher account. Only after the approval Teacher can login into the portal.
For Student Login fill in these details
- First Name
- Last Name
- Class
- Section
- Phone Number
- Roll no
- Gender
- Username
- Password
Again for student registration, the admin needs to approve the student account. Only after admin approval students are able to login into the dashboard.
For Staff Login Admin needs to create a login for that
For Admin Login the login will be provided by the developers to the client.
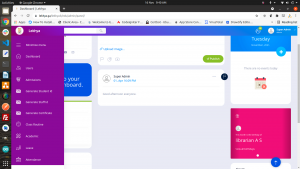
You will get a Dashboard which looks like this
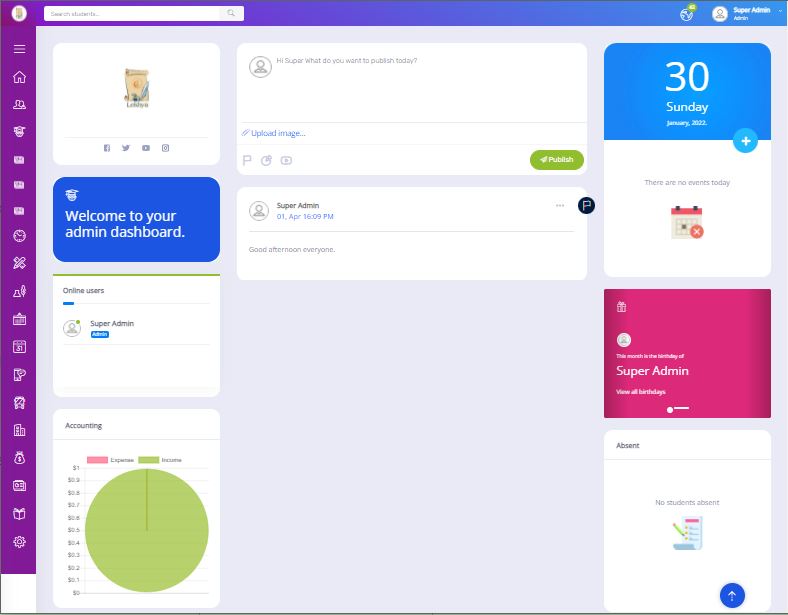
On this page middle section the user admin can post any information which will get posted to all the users in the portal. Admin can also create polls, information in text format, YouTube link, etc.
On the right hand side we have today’s date followed by today’s event below. If there are any events it will get displayed there. Below we have a birthday celebration corner which will display who’s birthday is there on today’s date.
Below this we have an absent section which will display Absent Staff’s, Teachers and Students.
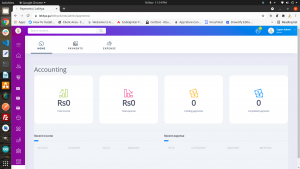
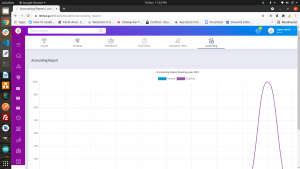
On the right hand side we have a logo followed by all social media links. Below that we have a welcome message. Below that we have a list of all online users who are logged in to this portal. Below that we have accounting tab which will show both Expense and Income with small graph
List of all functions on admin panel
On the Right Hand side you can see all the admin functions.
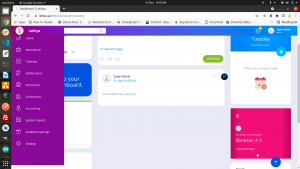
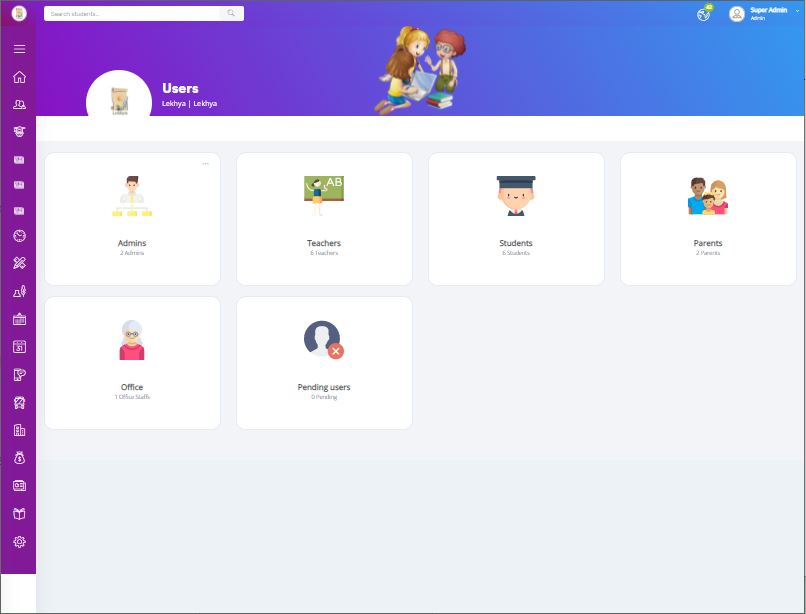
Users
https://lekhya.ga/lekhya3/edu/admin/users/
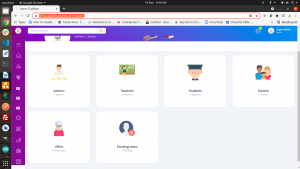
We have all the users
Admin can add sub admin
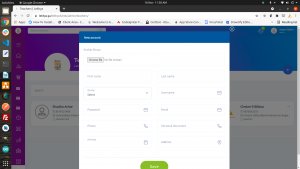
By filling up these details super admin can create another admin amount
User type: Teacher
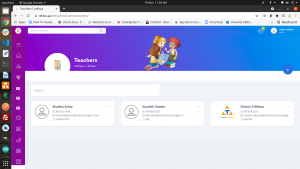
By filling up these details the admin can add a new teacher. User’s created here do not have approval.
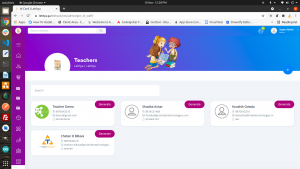
After adding the teacher account we can see the notification on top right corner of teacher added successfully
User type: Student
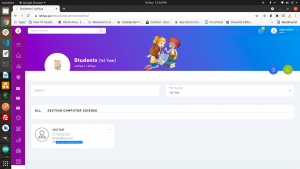
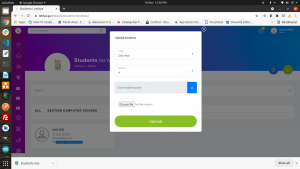
Here we can see the list of students in a particular class. By selecting the drop down the students will appear on the table below. We also have Bulk student Upload and Export options
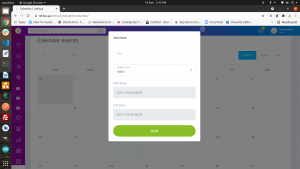
Here we can see the bulk student upload option we need to select student class on the first drop down and then the section. We also have a template file. We need to fill in the details accordingly. Then upload the file.
User Type: Staff
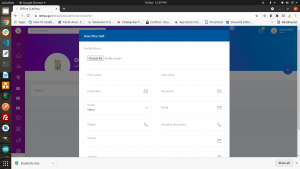
Here we can add new staff members to the portal.
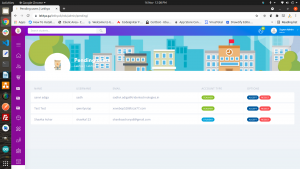
Users who are registered independently from the registration link. Will have their account listed here for the admin approval. Only after admin approval user can login into the portal.
Next again if we goto Admission section. https://lekhya.ga/lekhya3/edu/admin/new_student/
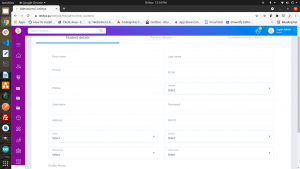
We have a student admission section and the admin needs to add all the above details to add new students into the portal. If admin needs to create login for the parents he need to enable parent login switch on the portal and need to fill in the below mentioned details on screenshot.
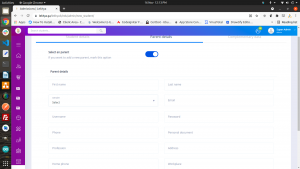
This will also create parent login on the portal and it will also associated with studnet.
Feature: Generate Student ID link: https://lekhya.ga/lekhya3/edu/admin/gen_id_std/
On this feature new need to select “filter by Class” and only after selecting the class list of students will appear with a generate button on them. As mentioned below
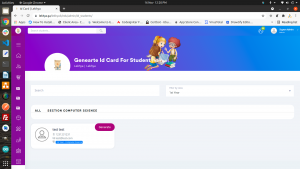
When you click on the generate button.
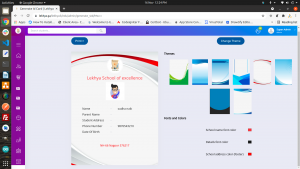
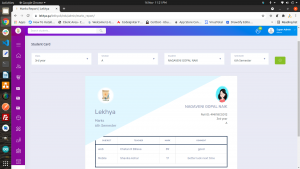
Id cards appear as mentioned in the above image. We can change background image and font colours.
Feature: Generate Staff ID link: https://lekhya.ga/lekhya3/edu/admin/gen_id_staff/
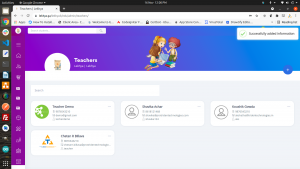
List of staff will appear here. We need to click on generate to generate ID cards for the staff.

Id cards appear as mentioned in the above image. We can change background image and font colours.
Generate Certificates:https://lekhya.ga/lekhya3/edu/admin/generate_certificate/
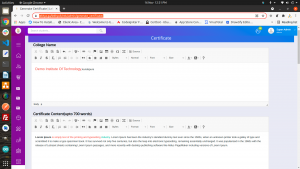
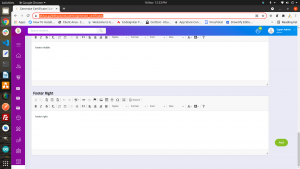
Fill in the details that need to be printed on the certificate. Then click on “add” button.
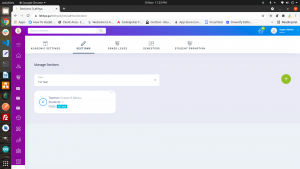
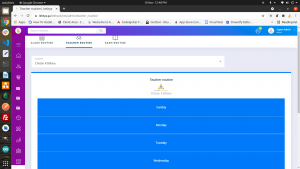
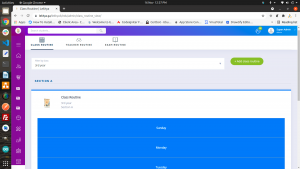
Feature: Class Routine link: https://lekhya.ga/lekhya3/edu/admin/class_routine_view/
Select the class from the drop down. Then the class routine with timing will be displayed.
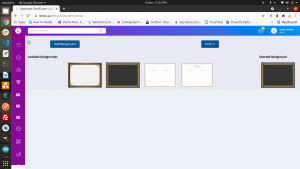
Select the background for the certificate. Then click on print and it will export on pdf.
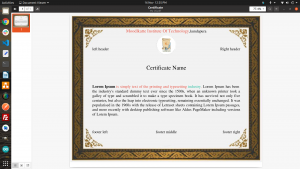
Exported certificate looks like this.
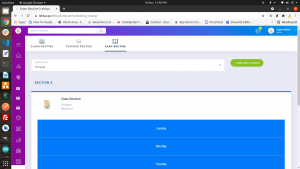
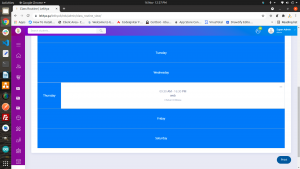
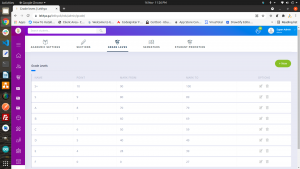
Admin can also create class routine by clicking on add class routine button and many more

The above all are the major functionalities of lekhya application. This document brefs about admin panel functionalities. Links are provided on all major functionalities features.
